ロアアームとフロントのバージーボードを取り付けます。
The lower arms and the front bargeboards are installed.
反対側も同様に取り付けます。プッシュロッドとロアアームを高さと角度を調整をしながら固定します。
The same steps are repeated on the opposite side.
The pushrods and lower arms are then fixed in place while carefully adjusting their height and angle.

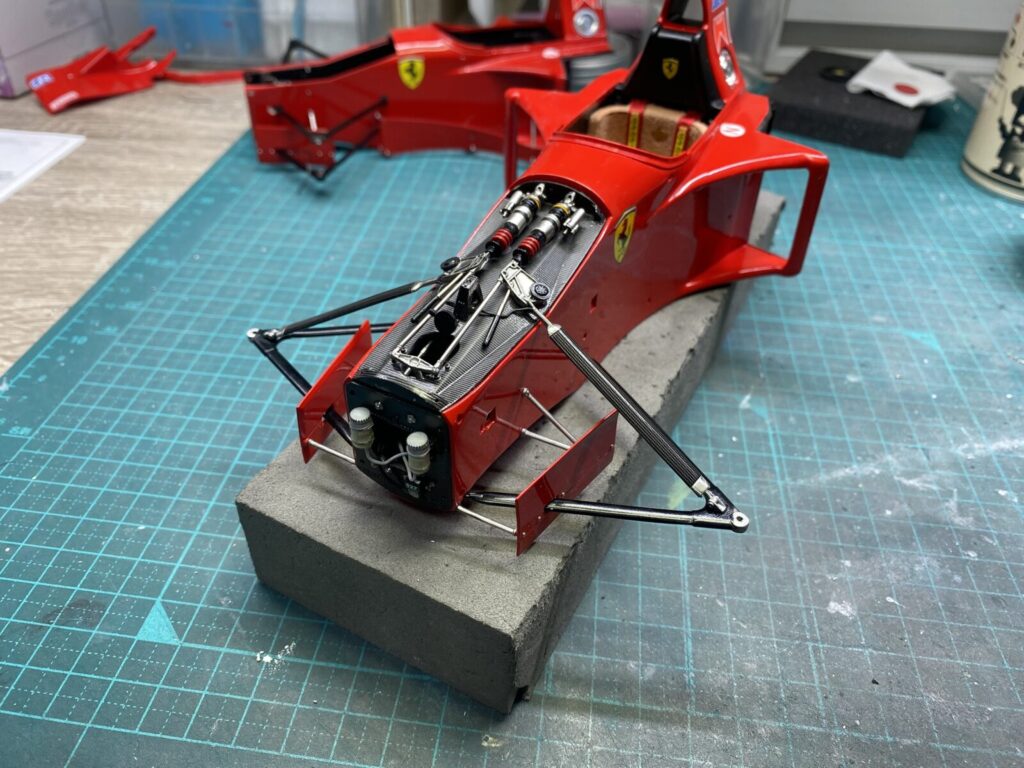
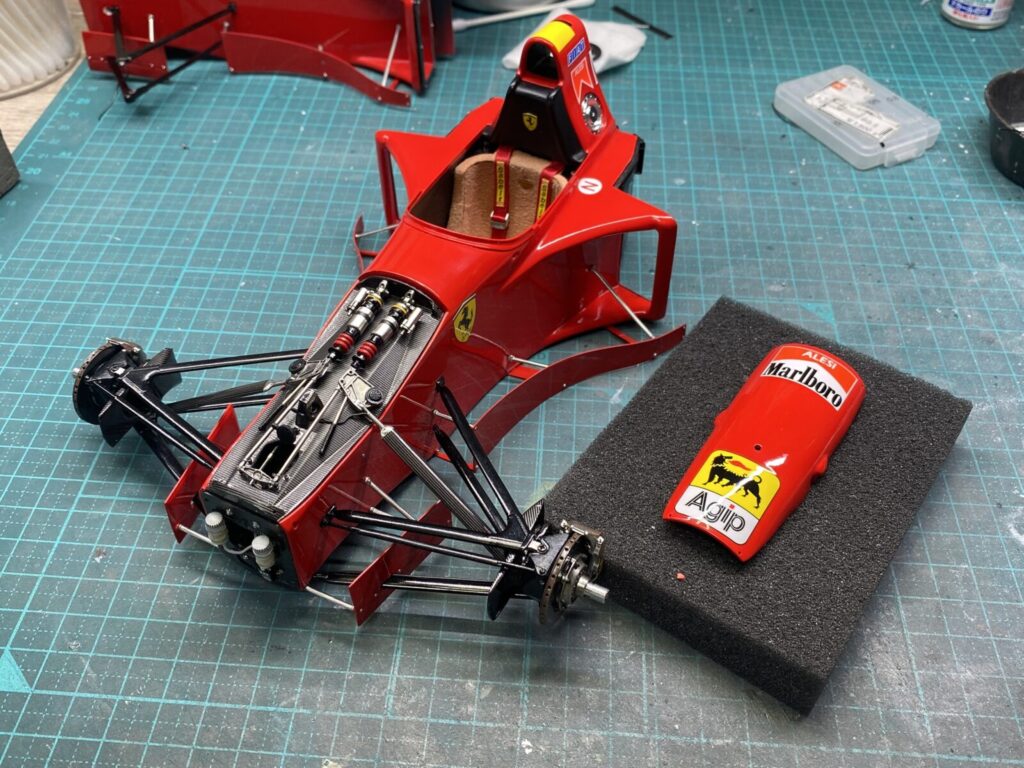
アッパーアームを取り付けます。その後、製作しておいたアップライトを取り付けブレーキラインも追加します。
The upper arms are installed.
After that, the prepared uprights are fitted, and brake lines are also added.
ディフレクタープレートを角度に注意しながら取り付けます。
The deflector plates are installed while carefully checking their angle.
反対側も同様に取り付けます。
The same is done on the opposite side.
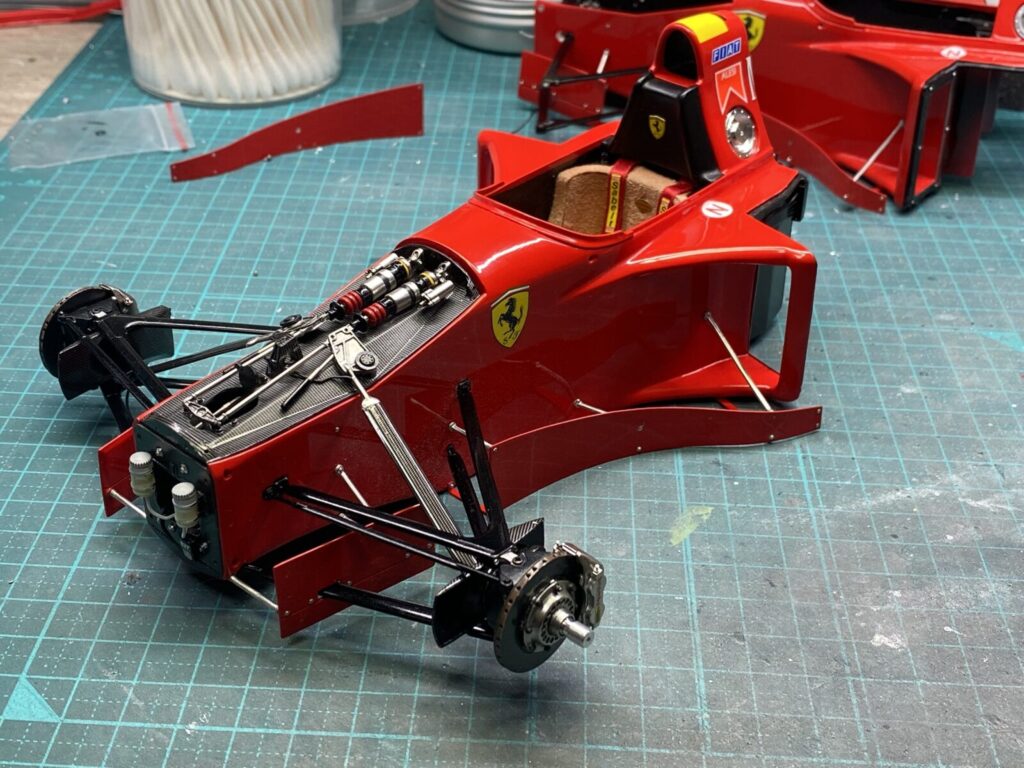
フロントアッパーカバーも製作します。
The front upper cover is also assembled.
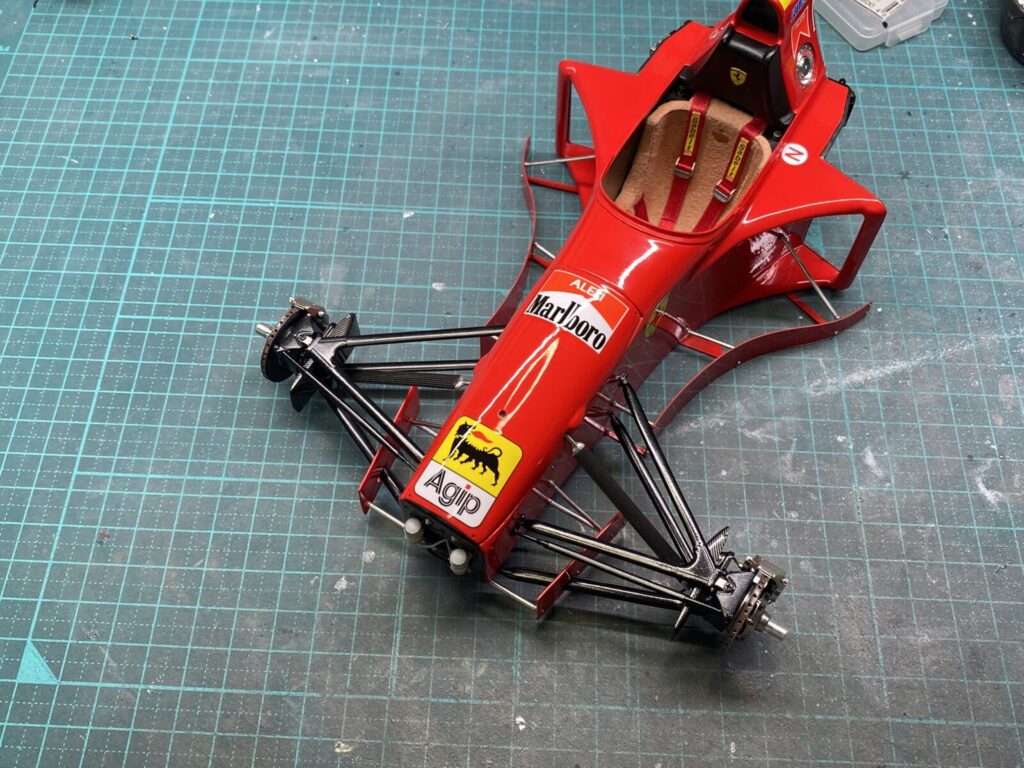
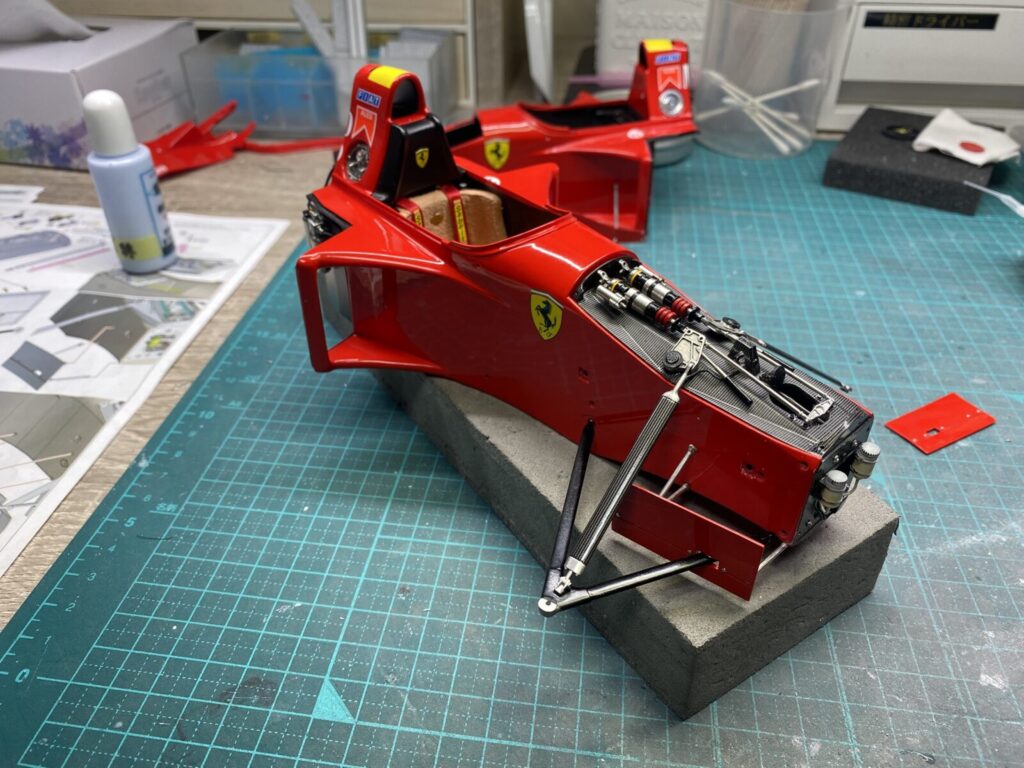
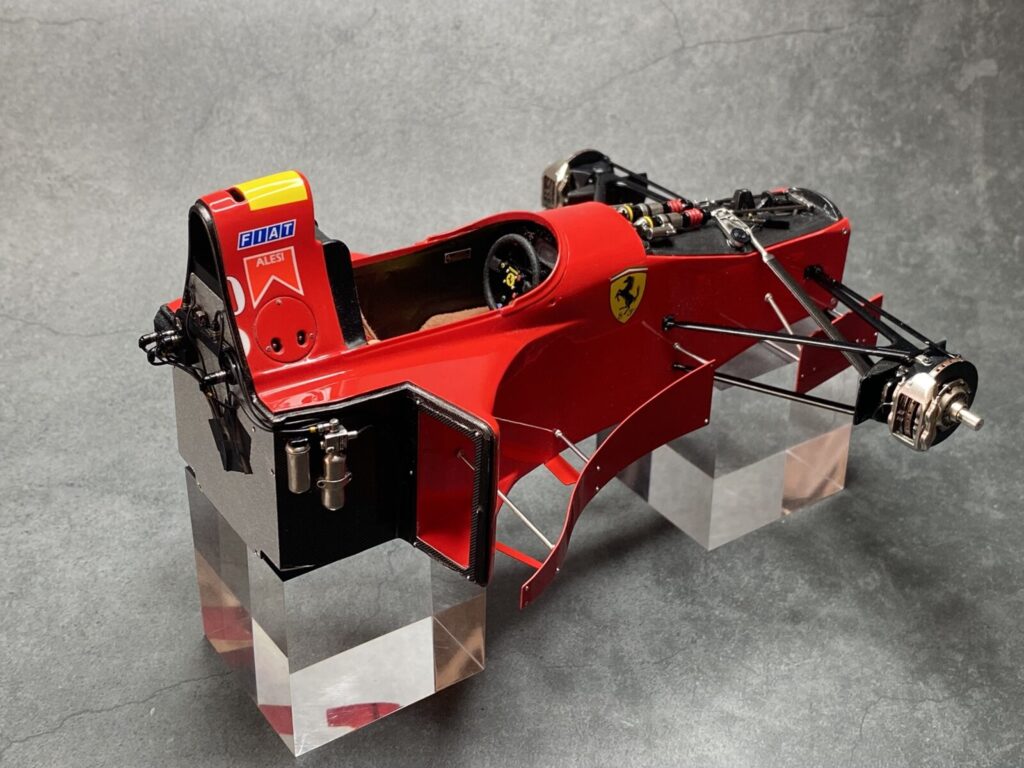
これでモノコックが一旦、完成しました。サイドミラーは破損しやすいので、仕上げの段階で取り付ける事にします。
With this, the monocoque is complete for now.
The side mirrors are prone to damage, so they will be installed at the final stage.
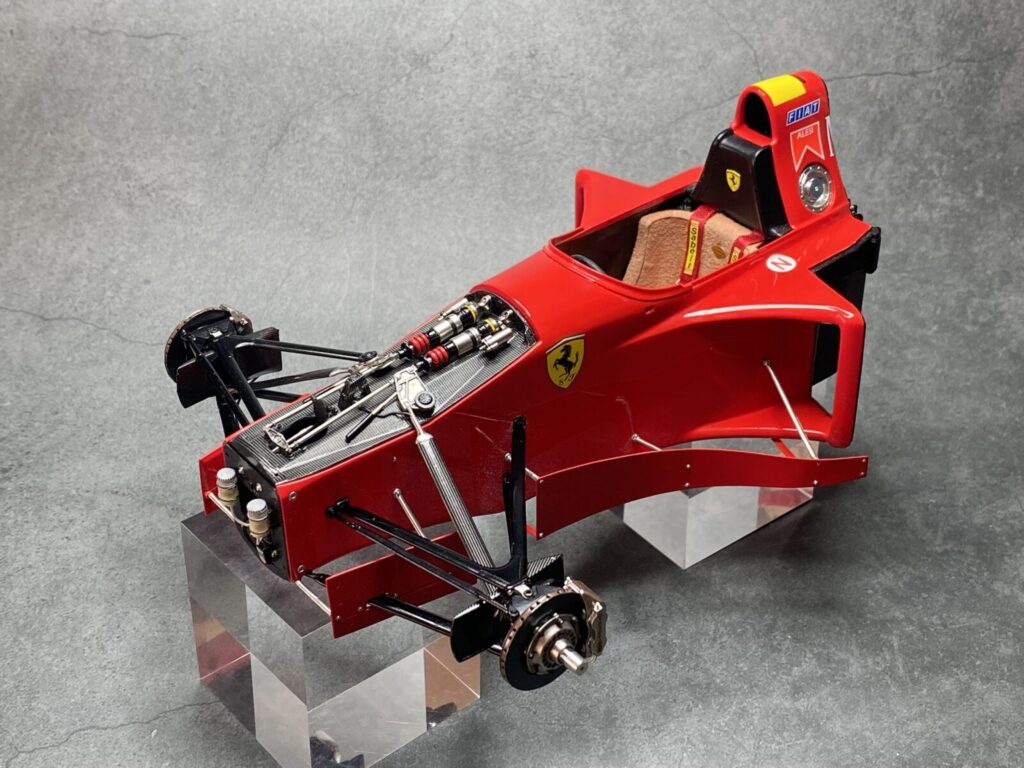
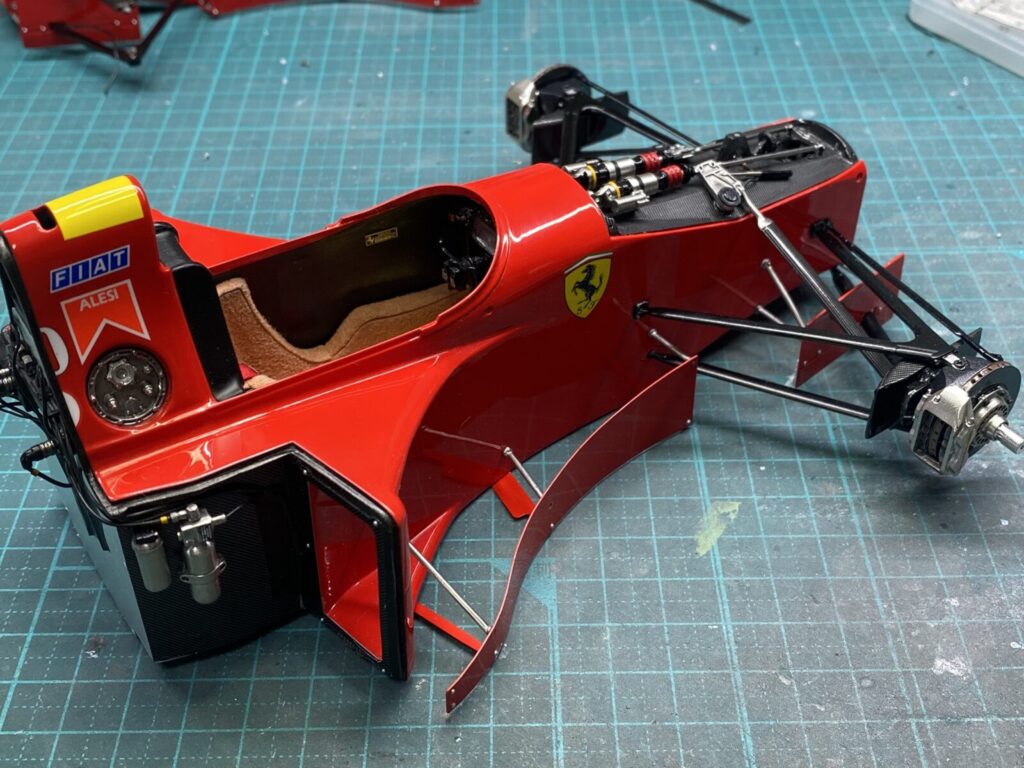
モノコック完成画像1
Monocoque Completed – Photo 1
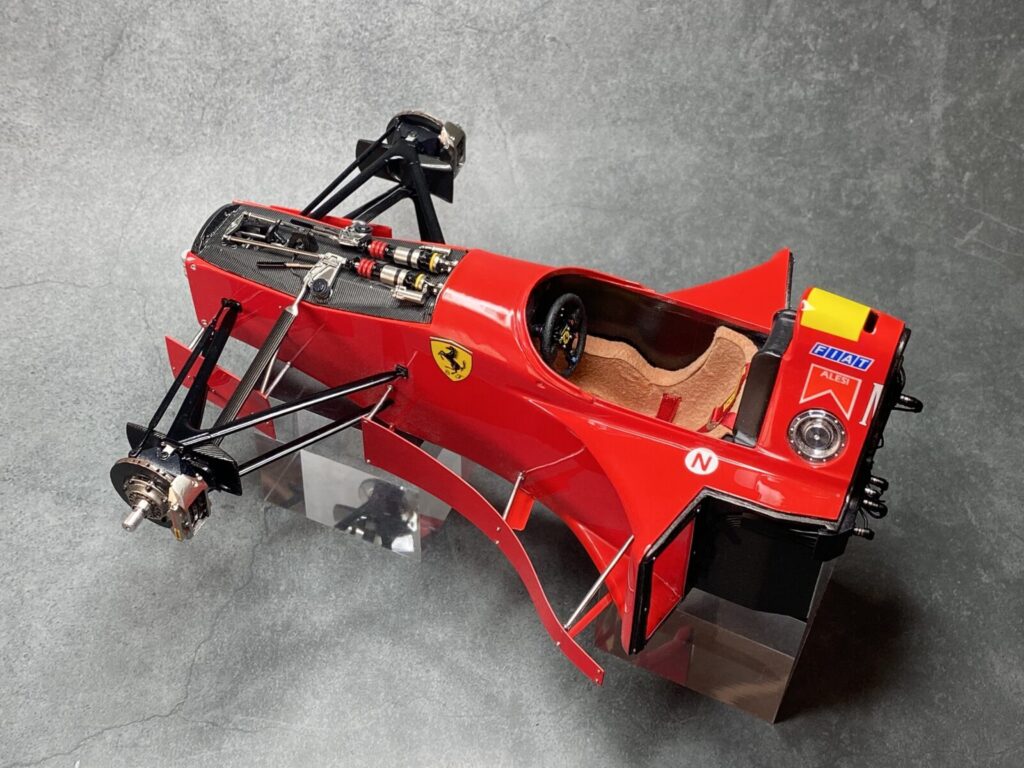
モノコック完成画像2
Monocoque Completed – Photo 2
モノコック完成画像3
Monocoque Completed – Photo 3